Saturday, April 6, 2013

Making a bench cushion

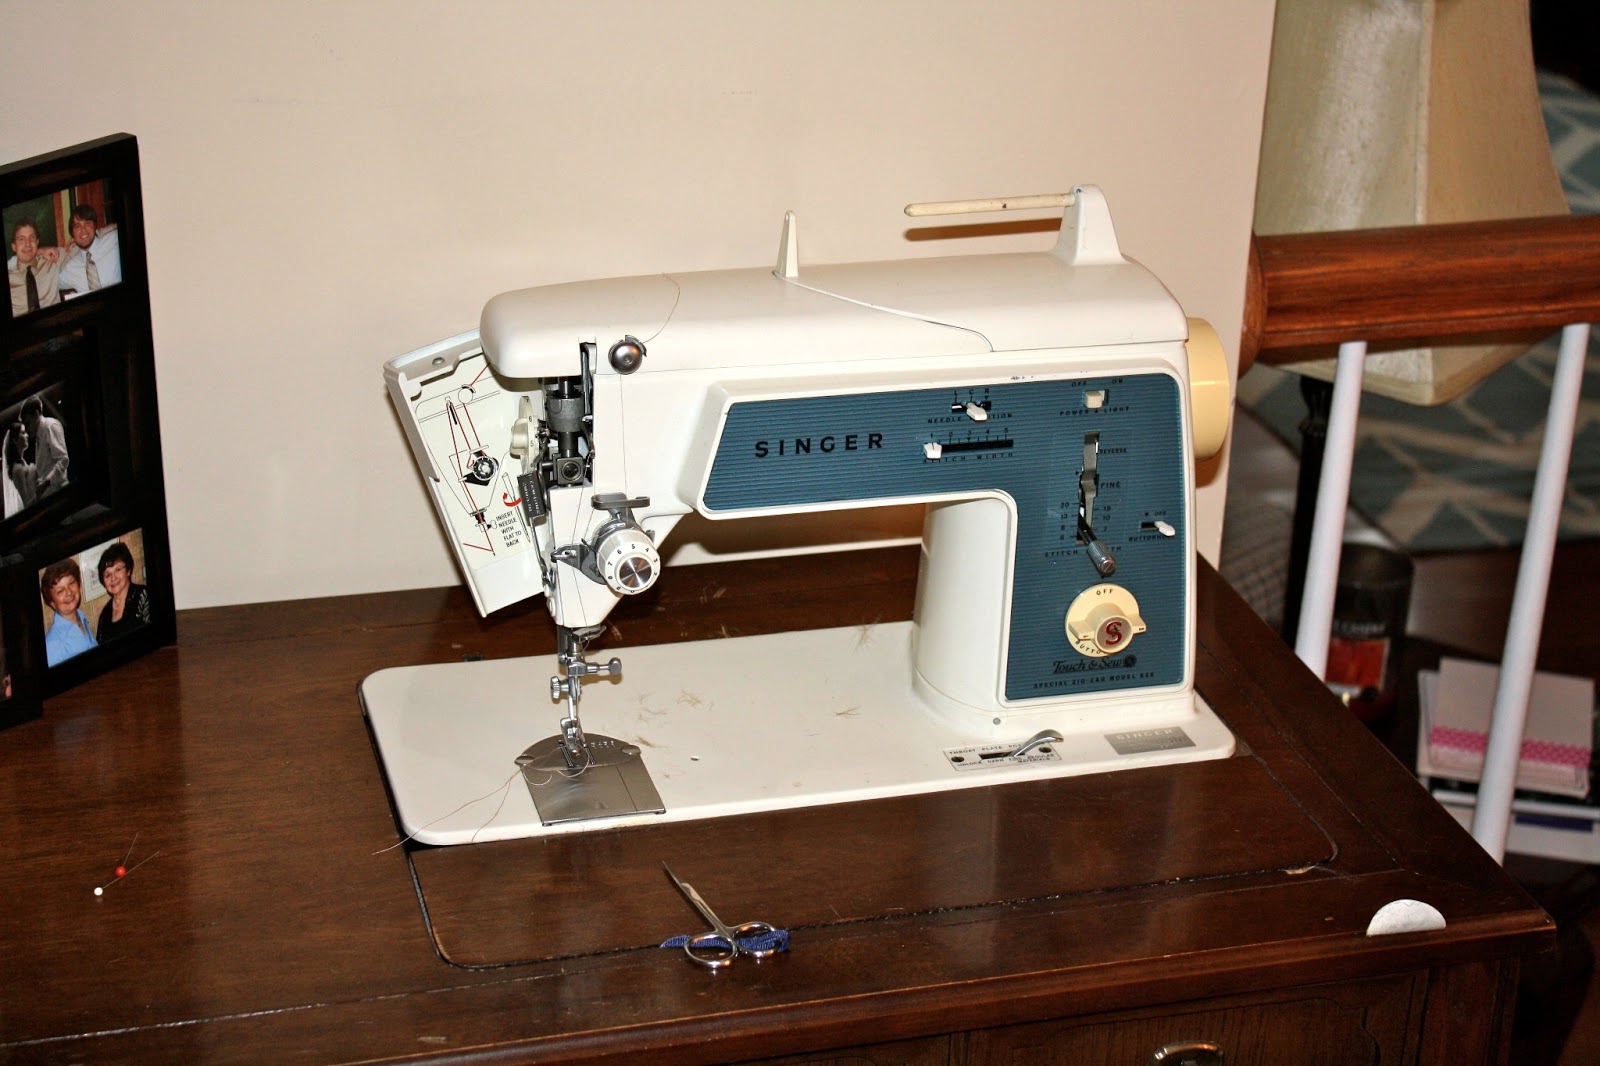
I ordered some fabric from the Online Fabric Store in order to make a cushion for my new hutch. It went okay, but not all my stitching was all that straight. I think I need to pick up a few sewing materials if I decide to sew more (like materials to cut straight lines and make markings on fabric). My mom gave me her old sewing machine (circa 1968 or so) when I moved to Atlanta. It's been with me ever since, but I haven't really used it until recently. I learned to sew when I was young from my mother, but my skills are a bit rusty. I expect I will improve over time.


I bought 2 inch foam for the inside material.
My cuts:
2 rectangles 1 inch larger than the foam on all sides.
4 skinny rectangles for the width of the foam (again 1 inch larger on all sides)

I used straight stitches for attaching the skinny rectangles to the larger one. I did it in a way that made sense to me, but most of this is just working out the correct placement of the sides. Make sure to stitch the right side of the fabric together. I made a few mistakes and had to rip out my stitches and start over.


This is about halfway done. The two larger rectangles are attached via a skinny rectangle.

I ended with one side open so I could insert the foam, which I had cut to size using an exacto knife.

I carefully hand stitched the last side (taking care to hide my stitches as best I could. I opted to not make it removable and just spot clean when needed.

The finished product. As you can see, I also scored some baskets from Pottery Barn for the top cubbies.

It's not perfect, but I think it looks pretty good for a first attempt at making my own cushion. I can always recover it if a get tired of the pattern.


So, now, I can officially call our foyer done! Time to get some gardening done. :)

Tuesday, April 2, 2013

The bathroom with the dragon artwork

I feel like I haven't been posting as much as I have in the past. I do sincerely apologize, but I don't want to post when I haven't really been doing too much around the house. My folks were in town this past weekend. It was finally nice on Saturday (for once), so we went on a short hike nearby. Sunday, of course, was Easter (He is risen!). We had a nice Easter, but it felt super early this year. I guess it was, but having a cold and rainy Easter just didn't feel right to me. I am really looking forward to some nicer weather. I have plans for our front flower bed that can't be put into action until it's not so chilly.

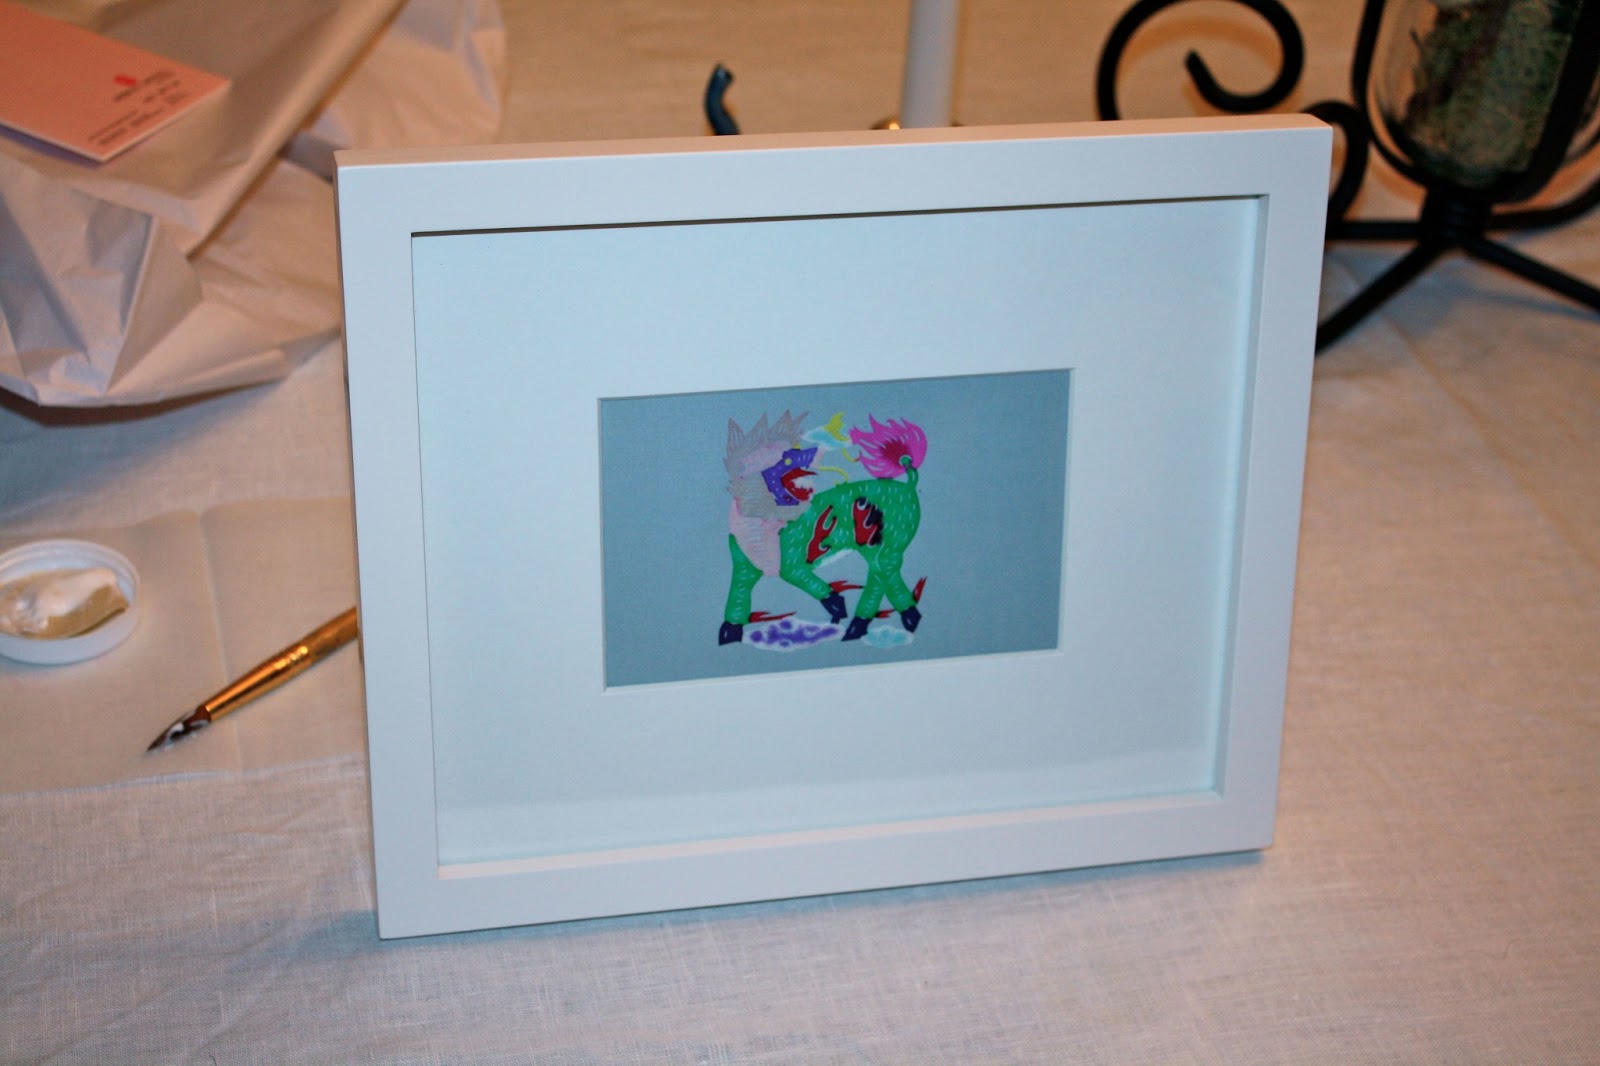
Anyway, I was recently going through old cards and keepsakes, and I found this paper dragon. My dance professor's wife hand made it, and he gave it to me during my last performance in college. It's make out of thin tissue paper and has all these intricate cuts in it (my professor and his wife are from China). Anyway, I decided it was too cool to keep hidden away, so I decided to frame it. I had picked up a plain white frame from West Elm last time I was in the mall. I mounted it on some card stock using a very thin layer of mod podge.


I debated where to put it, but decided on the guest bathroom. The one wall was looking rather bare, and I thought it would make a good addition.

And you can even see it when you wash your hands!

I also added a new spring-time centerpiece. I picked up the egg, grass, and twig filler from Target and thought it would be nice for spring.

That's all for now. I need to get moving on some new projects. I have stuff ordered and am waiting for it to arrive. :) I hope you all had a wonderful Easter!

Sunday, March 24, 2013

Foyer furniture, finally completed!

Aren't you guys just loving this warm, Spring weather? Oh right, it's been cold and we might get snow! I am so ready for warmer weather. In the meantime, I finally finished the entryway hutch!

Now, a word of warning. These pictures don't really display the color all that accurately. A lot of this is due to the flash making the color seem brighter than it is in real life.

After having assembled the top portion, I primed (1 coat) and painted (2 coats plus touch ups) the piece.


I then finished it with poly to seal the deal. The poly isn't as shiny in real life as it is in the pictures (again, due to flash).

I added hooks and secured the top to the wall. The plans called for attaching the top piece to the bottom, but I decided that would have been really difficult to accomplish and screwing the top into the wall made everything really secure (it's not going anywhere).


 I then added some stuff to hang on the hooks and a new piece of artwork (explanation below).

I had one more set of hooks, so I decided to attach one to the outside for larger bags or jackets. I ordered some baskets online that will fit in the top cubbies and can hold hats, gloves, etc. I may also add a pillow to the bench seat as well, which would have the added function of preventing the lid from banging against the back when you open it.

Back to the artwork. So, we were recently invited to a friend's wedding. One of my other friends from Bible study addressed all of the wedding invitations. When we got it in the mail, we were both blown away by how beautiful the lettering was. Due to privacy concerns, I am not including much of the address, so you will have to use your imagination (or check out my facebook if we are friends). Anyway, I picked up this frame from Target this weekend. I cut out just the address from the envelope, mounted it on some navy cardstock, and placed it in the frame. I really love the result, and it is a great keepsake of our first home.

Sunday, March 17, 2013

Tree Hutch Top

Happy St. Patty's Day! The hutch portion of my tree hutch is finally done! I didn't get quite as much time to work on it this weekend as I would have liked, but we were doing lots of fun things with friends, so I guess that's okay. I started putting this together 2-3 weeks ago, and have been slowly working on it.

First, I started by cleaning up the long pieces that we had cut with the jigsaw. There were some uneven parts that I shaved down and sanded.

Then I attached the cross-piece with pocket screws.


I then screwed the divider in from the underside.

I then attached the 1 x 2 and 1 x 3 cross pieces with pocket screws.


I did the same for the piece that goes across the bottom.

I attached the beadboard to the back of the structure using wood glue and small screws.

I then attached the top piece with nails, but forgot to take a picture. I then moved on to the miter cuts. The top of the hutch called for crown molding. It took a few tries to get it right. I also messed up a few pieces before I figured out how to position the pieces and do the measuring.


I then attached the crown molding with a few finish nails that I covered with wood putty.

And here is the finished top hutch. I will add some hooks after it's painted so that we can hang things from it. And of course, it will be attached to the bottom bench part. But, it's definitely getting there!

Thursday, March 14, 2013

Bench painting: for real this time

I'm getting rather slow with these posts recently. I've honestly just been really busy with work, friends, husband, planning trips, etc. But I have made progress with the project. Of course, I first had to make a correction to the base part of the bench. What was wrong with it, you might ask? Well, I wasn't wild about the color. I liked the blue, but it was a bit too loud and teal for me. So, I repainted it. I sometimes feel like painting is the task I do the most around our house. I went and visited a local store to acquire a new paint color. It wasn't Home Depot, Sherwin Williams, or Benjamin Moore. I decided to try Annie Sloan paints. They are called chalk paints because they go on rather chalky, but you finish with a soft wax or clear coat and they do pretty well for covering furniture. I first heard about the paints from Centsational Girl and had been looking for an excuse to give them a try. 

I went with Aubusson Blue for the paint color.

As you might remember, here is the bench from the first round of painting. 

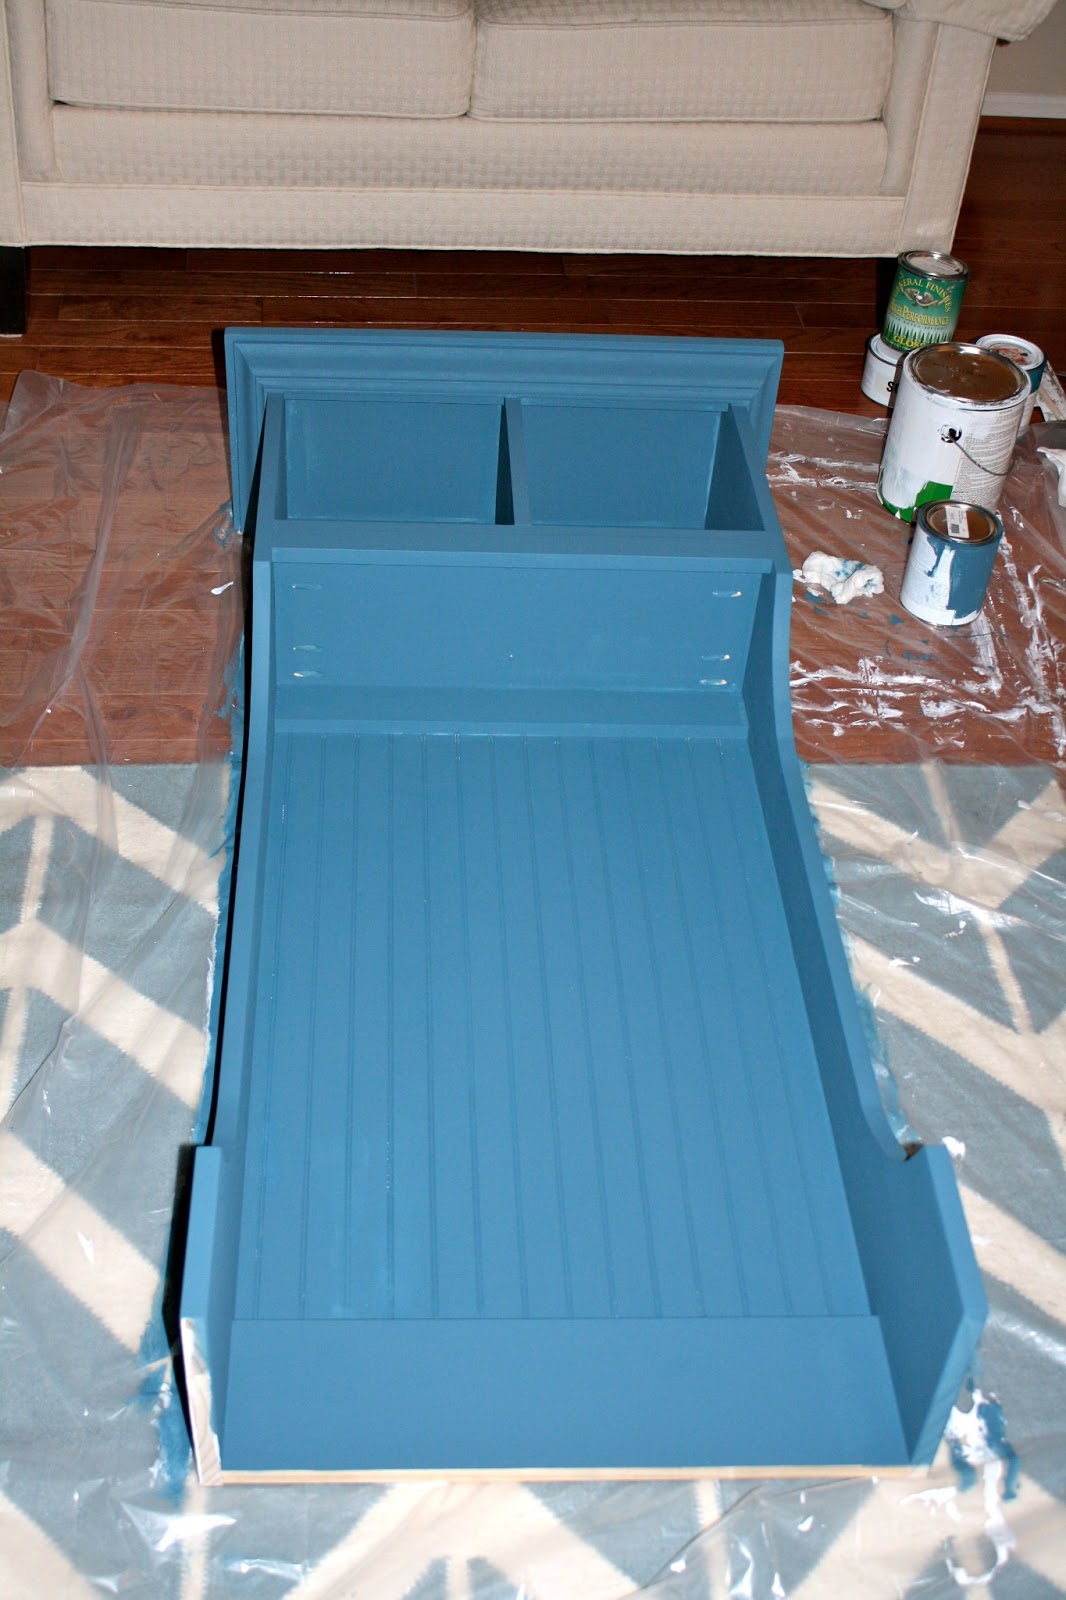
And here she is after the first coat of chalk paint. The color was just a little more toned down and seemed to blend a little better with the rest of the room. The great thing about the chalk paint was that I didn't have to sand the piece down again. Chalk paint can be used right over glossy surfaces without a problem. So, that was kind of awesome. 

The key with the chalk paint is that you have to use something to seal it afterwards. I used the Annie Sloan soft wax as a first coat. I actually found it a little hard to work with, so I switched over to the water-based poly that I picked up by General Finishes. It is still a little on the stinky side (even though it's water based), but it isn't nearly as annoying to clean up as oil-based polys. For the record, I though the soft wax by Annie Sloan was also pretty stinky, so maybe there isn't a way to avoid it. 

I'm pretty happy with the new color. It's much less intense and seems to work better in the room.


I have been working on the top portion quite a bit, and I almost have all the wood working pieces completed. But I will capture that in a separate post. I still need to make a run to Home Depot to pick up a few more materials before I can finish. 

Wednesday, March 6, 2013

Final Bench Post

It's been too long, but the bench is finally done! The past few weeks have been primarily been filled with work. On the weekends, early mornings, late evenings, etc. But today, I finally got a break. And the bad weather kept J home too so we had a nice, relaxing day together. I think we both wish that it had been more snow and less gross weather, though. Anyway, over the past 3 weeks or so, I have been slowly painting the bench portion of the tree hutch. First, I used Kilz primer over the bare wood. I had spent time using wood putty to patch up the seams.


J and I decided on a blue color to go with the rest of the decor on the main floor. This is after the painting.

I then used a water-based gloss coat I found in a local shop. It is a little greener than the oil-based polys, and the smell is not quite as bad.

After about 2 coats of the gloss, and it had set for a bit, I attached the top of the bench with low-profile hinges. I had to order them from Home Depot online as I couldn't find them in stores.

And here is the finished product! I think it will look even nicer with the top portion of the hutch built! I put all our shoes in the hutch, which will keep them out of sight. It will, hopefully, keep the foyer looking a little nicer. (Imagine a pile of shoes sitting there before.


I also have some ideas for artwork in the nook, so stay tuned. I should have more time at home now, so I should be able to make progress on the top portion.

For the previous posts on the making of the bench, visit:
Part 1
Part 2
Part 3