Sunday, October 27, 2013

Basement Tiling

Okay folks... it's the post you have been waiting for... tile time! My parents came down this weekend to help out. We started Thursday and ended on Saturday. It was a lot of hard work so a big 'thank you' to my dad, who suffered all the aches and pains of tiling a cement floor with me. First off, I have to say that I am in love with our tile. The ivory travertine is b-e-a-utiful. Before my parents arrived, I did my best to place the full 12 inch tiles where I wanted them and centered in the space. Since the last row will be hidden by cabinets, it was okay to make it pretty thin. Normally, you would want to even out the spacing. But, in this case, I favored the portion that would be visible.


Then, it was time for tile cutting. Wet saws can make a mess, so we went outside, and directed the back spray towards the bushes. I borrowed the saw from one of my friends in the area. Since we only had a few cuts, it was much more economical to do that than buy a saw. The travertine is a natural stone, and is quite porous. As such, the tile cut like butter. I found the wet saw pretty straightforward to use. It has a tray to sit the tile in, and you push it towards the blade. None of our cuts were complicated, so it was a matter of lining up the blade with the measurement. I used pencil to line up the cuts, which was washed off by the water.


We used the spacers so we had accurate measurements for everything.

We then carefully removed the tiles from the space and used a chalk line to mark our rows. This became extremely useful when laying the tiles the next day. We also marked the center line.

We laid out the same pattern on the carpet so we could move them over easily and quickly.

Despite the use of the self-leveling cement (which made a huge difference), there was still a bulge in the concrete. My dad brought a grinder to grind it down and make the surface smoother.

The next day, we set the tile. We used my paddle mixer to mix it up. There are no absolute directions in terms of water to thin set proportions. The main thing is to mix it to a mayonnaise-like consistency. Once the thin set is mixed, wait 5 minutes before starting to use it, This gives the chemical reaction time to start.

My dad and I split the job of applying the thin set. The main thing is to spread a bunch down...

and then use a trowel to make ridges.

Then, carefully place the tiles and spacers. We were very careful of minding the chalk lines so that the tile was set evenly.

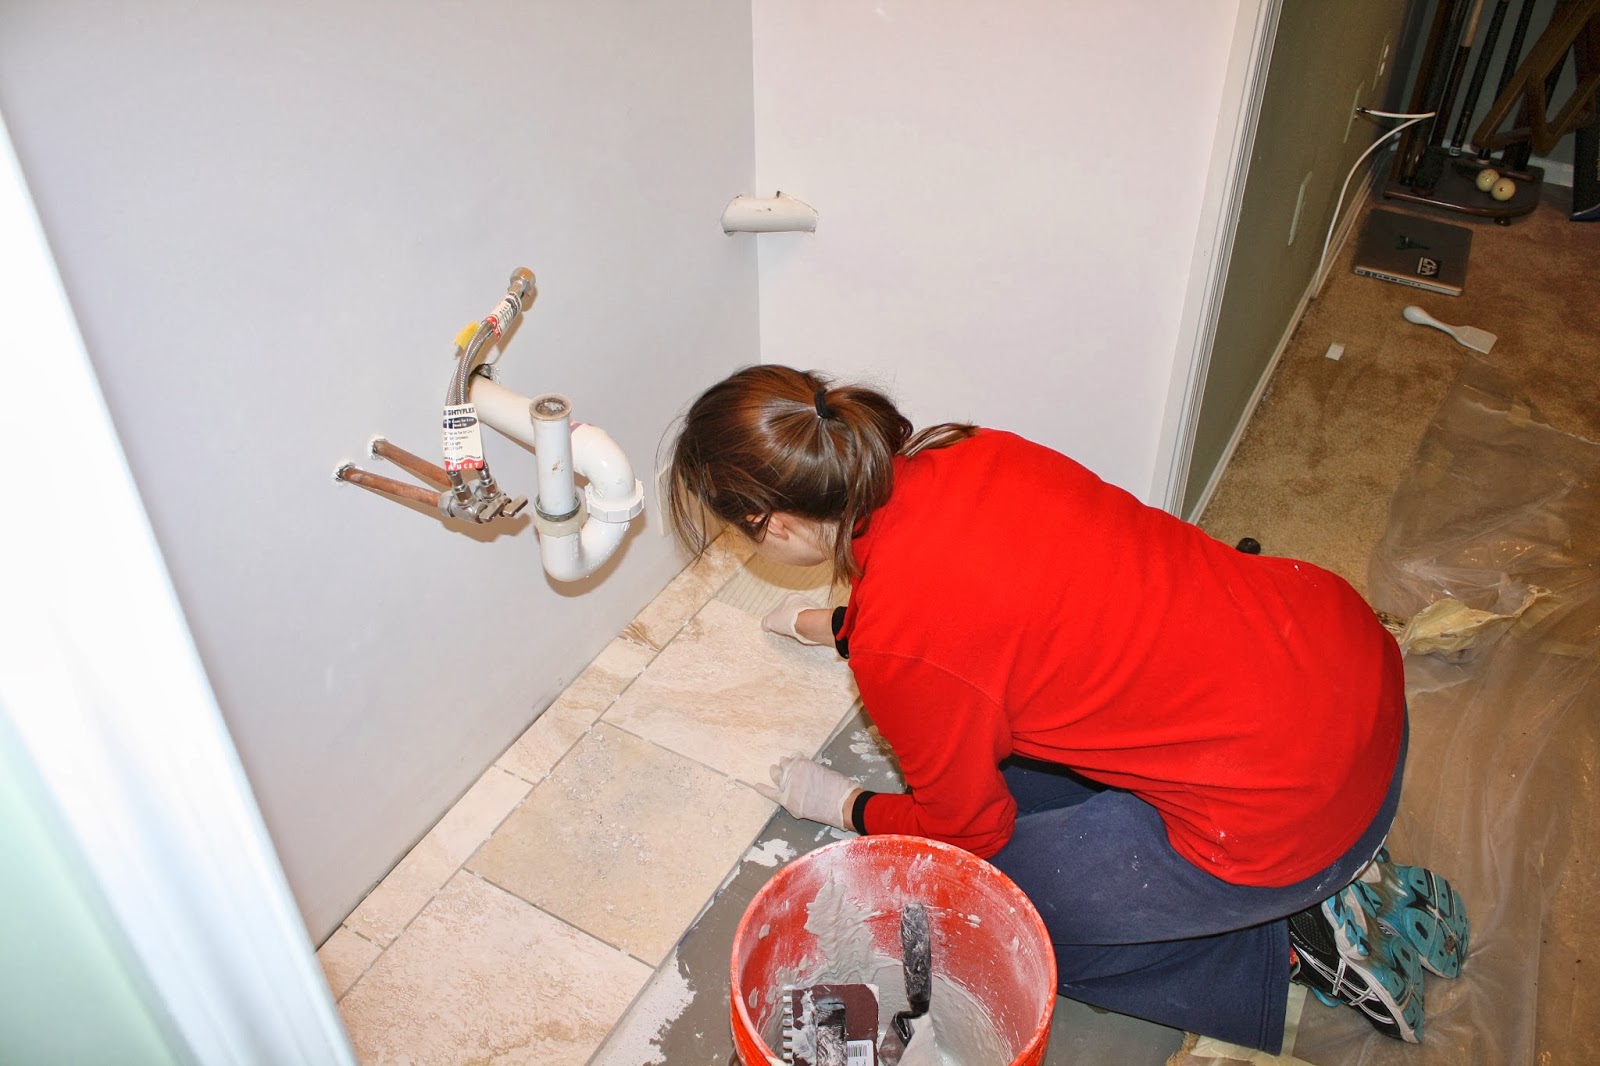
I didn't take a huge amount of pictures because the thin set is time sensitive (you need to finish working with it before it has time to set up). We did the back 2 rows first, gave those about an hour to set, and then finished the job. This allowed us to have something to push against for alignment. It also meant mixing up the thin set in small batches.

The next day, the tile was all set and ready to go. We cut back the carpet to size. I had forgotten to mention that we had pre-installed the carpet tack strips before we set the tile. I don't have carpet pictures because it was honestly the worst part of the whole job. Carpet is a huge pain to work with. It is hard to cut, and the space was hard to work with. We ended up having to glue the tack strips down in lieu of using nails because we just couldn't get a good angle on the nails. For more information on carpet to tile transitions, check out this post. We basically followed this advice, although we installed the tack strips before the tile. The carpet in these pictures still needs to be tucked in, which is why it doesn't look clean yet. I will do that after the sealing is done.

My dad also cleaned out the thin set in the grout lines. It's a good idea to do this, so you have room for the grout.

The grout was mixed up to a toothpaste-like consistency. We didn't need very much of it. The basic technique is to press the grout into the cracks with a rubber float.


And then wipe away with a damp sponge. J got involved with cleaning and wringing the sponges as I was wiping down the tile.

The grout is darker when wet. The grout needs some moisture to set correctly, so we dampened it a few hours after we originally set it and then again a day later. We also mixed the grout using admixture rather than water. Admixture is latex-based and less prone to cracking.

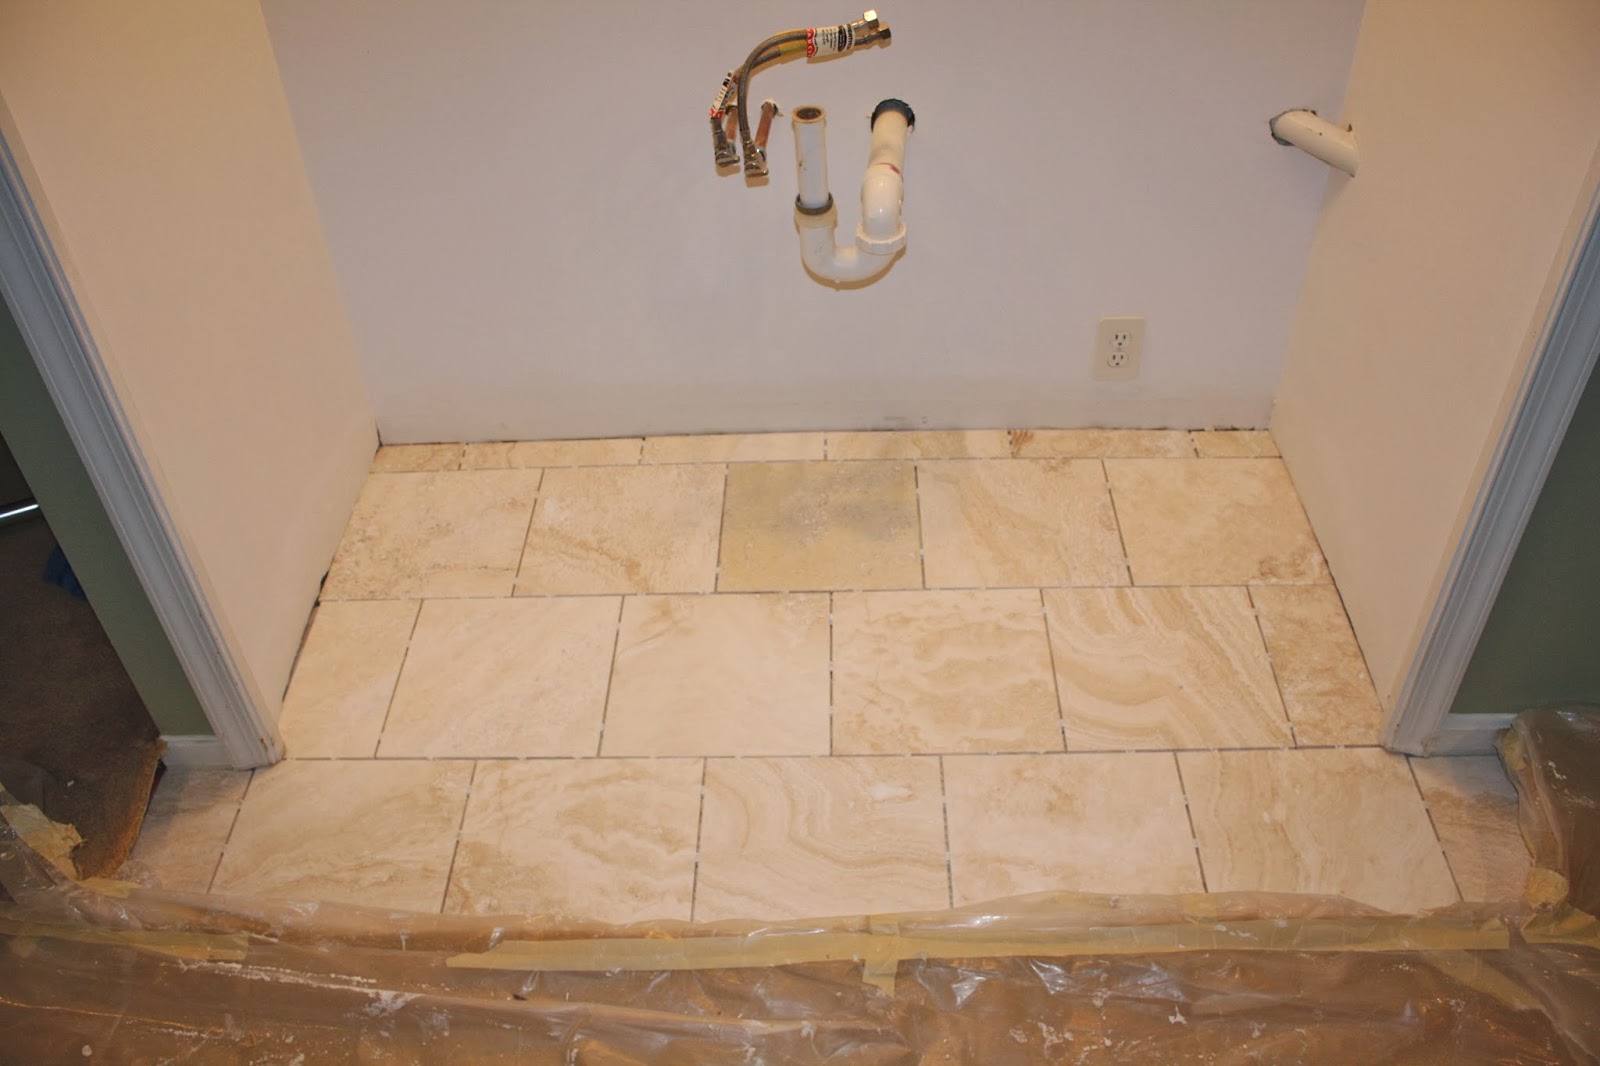
The finished product (carpet still not tucked in).


I'll seal it next weekend at some point. But, I absolutely love it. We worked hard to get this done, but the result is quite beautiful. I can't wait to get the rest of the wet bar done, now. It should be mentioned that this project made me quite sore. Working on the floor for 3 days is rough. And again, a huge thank you to my parents for their help. It would have been pretty tough without the help. Overall, I feel more confident about tiling. It was scary beforehand, but turned out to be not too bad. It's funny how things work that way.

Tuesday, October 22, 2013

Leveling out with self-leveling concrete

I hope everyone had a great weekend! We sure did. Besides our awesome hike I told you about last post, we went to a very fun wedding. I would share pictures, but I wasn't very good about taking many (I was having too much fun). Which means that 2013 was an awesome year for weddings. We had an absolute blast at all of them that we attended. But back to the subject at hand... floor preparation.

We are nearing the point of actually installing tiles. This past weekend, J and I poured cement to level out the floor so that the tile will be easier to install.

First, I removed the baseboards. I plan on installing new baseboards after the tile install. Since the baseboards had been painted on. it took some cutting and prying to get it off. I used a scraping tool to get under the baseboards and a crowbar to pry them from the walls.

I then had to cut away the carpet in the area that I want to tile, which comes into the room. I used my new laser level to line up a straight line to trace.

I bought a carpet cutting razor for this job and it was still super difficult. It takes a really sharp blade and some force to cut the carpet.

I left about 2 inches extra of carpet on all sides. You want to have some extra carpet that you can work with to do the transition after the tile has been set.

I didn't take pictures, but I also patched the holes in the concrete from where I removed the tack strips. I mixed up some concrete patch to fill them in. I also went through the painstaking task of taping off the carpet. To do this, I used 1 x 2 pieces of wood under the carpet to lift it off the concrete. I then taped 3 mil thick plastic around and under the carpet to protect it.


With everything protected, I got ready for the self-leveling concrete. The first step is priming. There is a primer that is recommended for the self-leveling concrete, which is what I used. I then let it dry for a few hours while J and I went to church and the grocery store.

To prevent the concrete from getting in areas we didn't want, I used caulking tape around the perimeter and pressed it into the 1 x 2s.


Then, we got to the concrete step. I was pretty nervous about the whole thing. So was J. But we made it through. I read several DIY tutorials, but it really just amounted to following the directions on the bag. One piece of advice: make sure you wear safety equipment: goggles, face mask, and gloves are all recommended. I read one DIY blog where the girl stuck her feet in the cement. Don't do that. Cement is full of cancer-causing things, so stay safe. We mixed half the bag with 13 cups of water. I used a paddle mixer attachment to the drill and mixed for about 2-5 minutes. Don't mind this bad picture of me. I was focusing.

Once it was mixed, J carried it in for me and poured it out on the concrete. I used a small trowel to push it around the space and make sure it was covering the whole area.

Then we waited...

After 4 hours, it had dried enough that it was looking lighter and harder. It is still slightly uneven, mostly due to a bump in one spot. But we can work around that. There is also one area that has a slight slope, but I think that will be sorted out when we put down the thin set.

All-in-all, the floor is much more even that when it started out, and I think we are ready for tile! J and I picked up the tile last weekend, and we are planning on working on it this next weekend.

More basement adventures coming soon!

Saturday, October 19, 2013

Anniversary hike

This week J and I celebrated our 4 year wedding anniversary. It's hard to believe it's been 4 years. We typically don't do much in the way of gifts. J's birthday is the same week as our anniversary, and we both prefer spending time together over spending money. This year, J surprised me with what I consider one of the best anniversary gifts ever. He came home Thursday asking if I would be willing to take Friday off to go up into the mountains for a hike. I have been wanting to go hiking in the fall in the mountains for weeks. Of course the government shutdown put a stop to that until Thursday, which was perfect timing. After okaying the day off with my boss, we headed out to the mountains. It was a nearly perfect day - slightly cool, sunny, and the fall foliage was in full bloom. We picked a 3.7 mile hike at Stony Man Mountain. The views were spectacular.


There weren't a huge number of people on the trail (it being a weekday), but we found a nice couple to take a few pictures.


The trail itself was beautiful with all the brightly colored leaves. However, due to the leaves and recent rain, it was a bit slippery and a little slow-going, but we made the best of it.


The recent rain made a small mountaintop pool of water.


Just thought you all might enjoy the beautiful views from our hike. We were pretty wiped out from the hike, but it was a lot of fun. The drive on Skyline was also breathtaking. I am so glad the national parks are back open. It was well-worth the day off. And exactly what I wanted for our anniversary. Hope you all are having a great weekend!