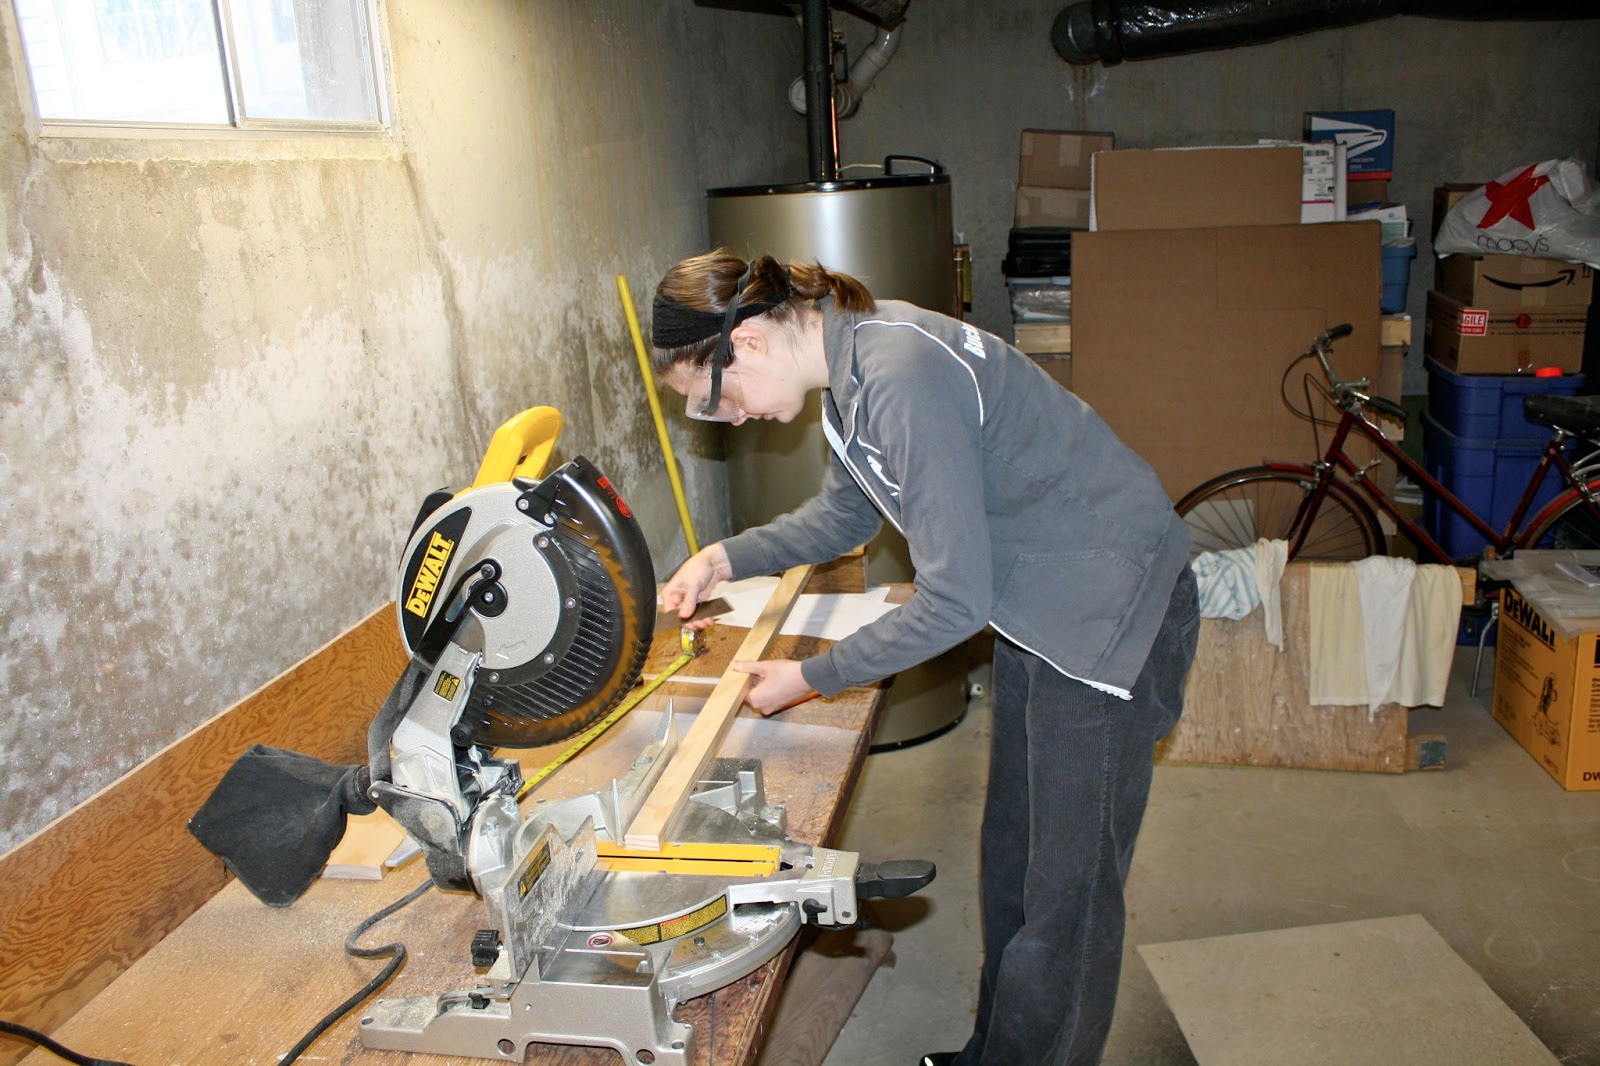
In December, we were able to finish all the cuts for the bottom part of the hutch, so we moved on to the top part. You can see my link above for the plans. They are modified from Ana White plans. Using the method I discussed in my first post, I continued to use the miter saw for the thinner wood pieces.


For the wider pieces, we tried using the miter saw one way and then flipping the board around the other way to finish the cuts. However, it would create a tiny crease where I wasn't perfectly accurate.

So, we moved on to this contraption of my dad's, which is a guide for the circular saw. It prevented the edge, but wasn't perfect with the angle.

In the end, we decided that the miter saw was the better approach, and then used a file to make things nice and even.

I used a hand saw to cut out the notches in this piece. But I forgot to take a picture of the cutting.

For the long curved upright pieces, we used a jigsaw. We first traced the curved pattern. The lid from one of my mom's pots worked perfectly.


My dad cut the first one so I could learn the technique.

And I tackled the second one.

Once all of the pieces were cut, it was time to do some assembling. Most of the assembly work will be done at home, but we could assemble the faces of the bench pretty easily at my parents'. To do that, I bought a Kreg Jig with a gift certificate we received as a Christmas gift.

Kreg jigs are used to make pocket holes in wood. This allows the screw to be hidden as it secures wood pieces together. It was actually really easy to use once I read the instructions.

This was our first attempt at clamping the pieces together as they are screwed in place. It ended up not working out perfectly because the pieces could still move up and down. We improved on this method later. We used wood glue in addition to the screws, which makes everything nice and secure.

And here is a picture of the Kreg Jig in action.

This is the improved clamping method, which secured the pieces in the x, y, and z directions and made for cleaner assemblies.

I will still need to sand everything down to make it nice and smooth.


Once the four box faces were assembled, we decided to call it quits for the day and celebrate my mom's birthday. I meant to get more done on the project yesterday, but ended up coming down with a cold, so that just didn't happen. However, I was able to take my miter saw home this trip, so I am pretty excited about all the fun projects I can now do! I promise to be back soon with more updates on this project. I'm starting to get excited to see it all come together.
No comments:
Post a Comment