Without further ado, here are some before shots.


And after:

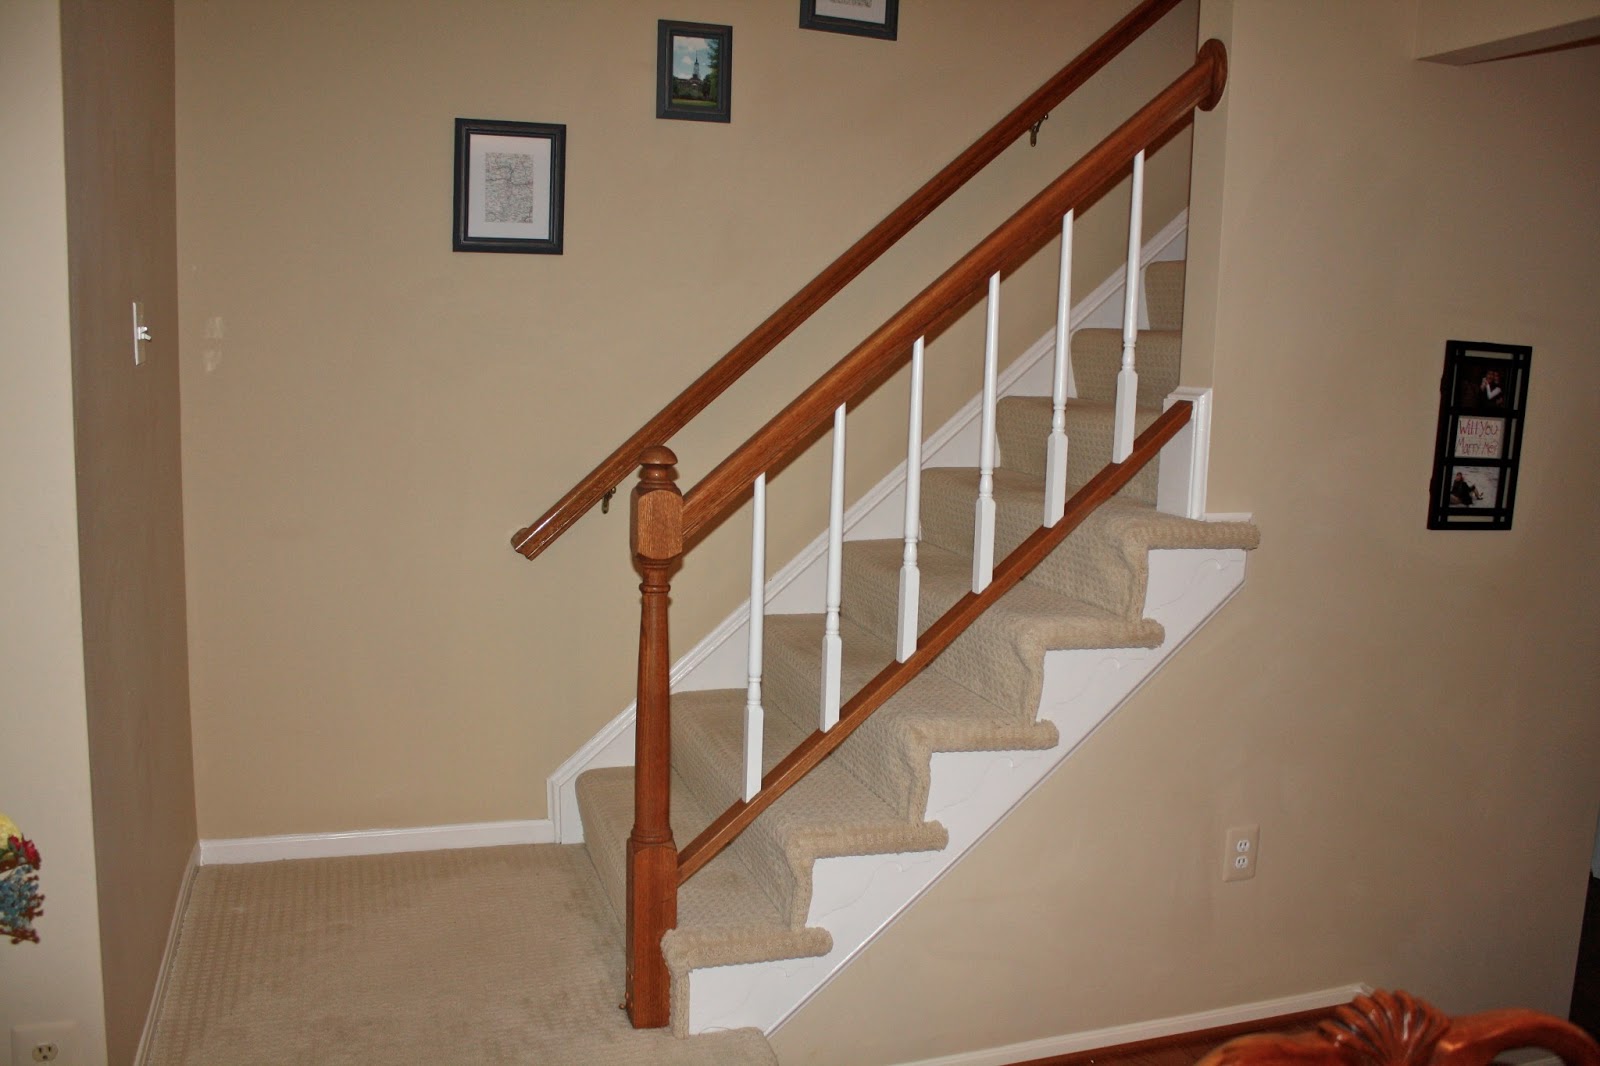

I have one more set upstairs to do before I can cross off this project as done! I am still in shock about how long this project has taken me. I feel that way about most trim work projects. The details take a lot of time to do them correctly. However, I do enjoy how much better our banisters are looking.
Okay, back to my research. So, J and I had a long discussion about the railing and large posts, so I started doing some research about what other bloggers have been doing with their railings.
Here is some of what I found.
Centsational Girl ended up staining her railings to a darker stain as can be seen in this link.


And I'm having trouble finding the link, but I found this one on pinterest for painting the whole thing white.

I was actually in favor of going for the all white thing, but J was pretty against it. We both like the darker stain for the railings, but I am concerned that it won't go with our wood floors, which are pretty much the same color as our railings. I was also thinking of painting them a different color (like gray), but J wasn't a fan of that idea either. For now, I think we will just keep the ballusters white, but it was interesting to research and see what other people have done with their railings. Have you done anything fun with your railings? Any creative ideas?
No comments:
Post a Comment