I finally finished up the drywall downstairs. In engineering, post-project, we do something called Lessons Learned to detail all the things you did wrong and would fix in the future. This project is no exception. I'll detail what I did first and then cover what I would do differently if I were doing this project again.
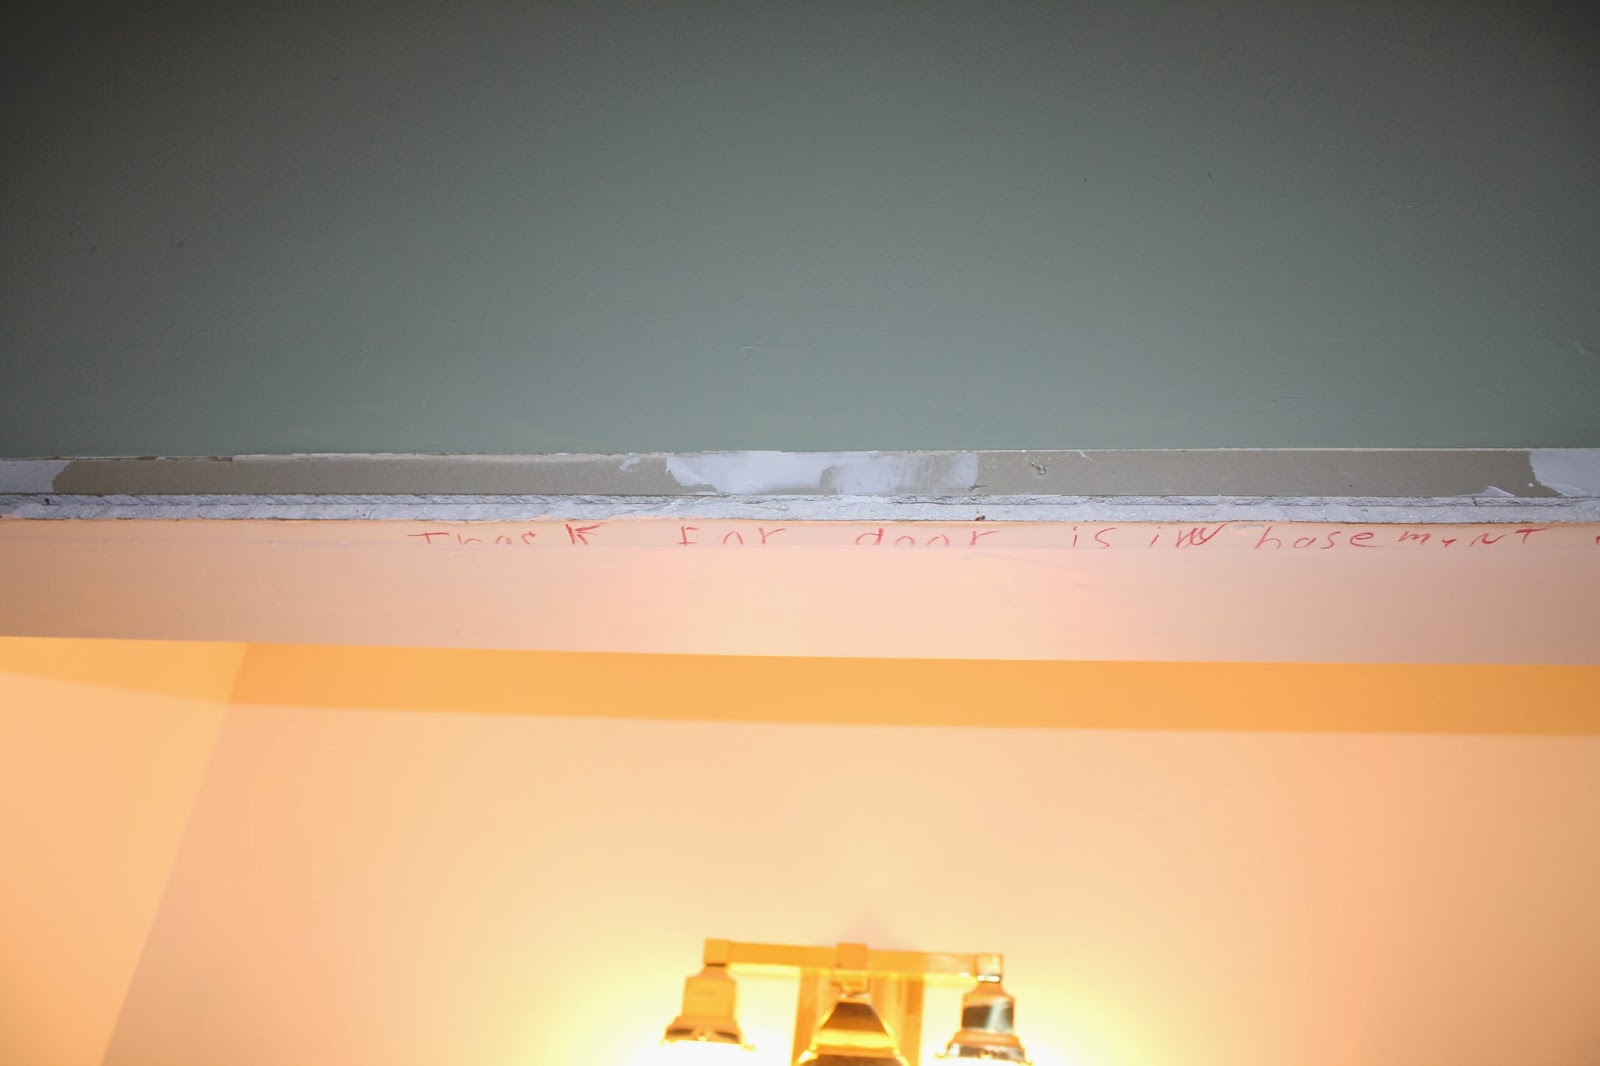
So, first off, we left off last time here:


I quickly realized there was a problem on the left side. The outer-edge sloped in from the rest of the wall due to the spacer piece they had put by the edge. A 1/4" difference over 28" is no big deal so the drywall didn't look weird, but I had no span and the drywall would have definitely had a bump in it. In order to get around this issue, I decided to cut back more of the drywall. The back seam will be hidden by our upper cabinets. Of course, when I cut back there were no studs (unlike what you see in the picture). I ended up making "studs" to hang the drywall by taking 2 x 4 pieces and using my kreg jig to attach them to the support above. The studs cannot hold any real weight, but can easily support the piece of drywall.

I used my jigsaw for the drywall cuts. It made super clean cuts for me.

As you can see the new piece of drywall covers the uneven edge nicely. I used drywall screws to attach.

I used drywall tape for the seams. Looking back, I wish I hadn't because there are a few bumps in the finished product. They will mostly be covered, but they still irritate me.

Screwing in the top drywall pieces. A note of warning... ceiling work is a huge pain.


Ceiling drywall pieces in.

I used tape for the inside crease. Here, you can also see the corner bead I put in. Corner bead is used to make drywall corners. It comes in sheet metal, vinyl, and paper-backed. The metal is the least expensive, but, looking back, vinyl would have been way easier to work with. I used mostly nails to attach the corner bead. I was concerned about screws poking out.


I didn't cover this too much, but I used a piece of drywall to cover the small section over on the right side. Luckily it sat flush with the rest of the wall. I had already started spackling over the corner bead on the right side in this image.

The top piece of corner bead being installed.

To get nice smooth edges, everything takes at least 3 rounds of spackling and sanding. There are a few places I wish I had gone over a few more times, but you really just try to do the best you can. It gets super tiring after a while. I started with a 6" plastic putty knife and worked up to a 12" drywall taping knife. You will want the larger one to smooth everything over. What I learned from drywall work is don't expect perfection.


This is the point where I stopped with the spackling and sanding. I had used about a half a tub of joint compound. Also, I needed to get things cleaned up for Thanksgiving.

I used 1-2 coats of primer on everything and then used leftover paint for the outside walls. I plan on painting the inside a different color, but I won't do that prior to turkey day. Here are some finished product pictures. They seem to hide the imperfections. There are a few bumps in real life, but I can always patch things up again before I paint again (since I plan on doing so). The outside walls are done at this point.


I love the header being down. It makes the space seem so much more open. I am really glad I did it.
Lessons Learned.
1. Had I known that I was going to do this much drywall work, I would have ripped out all the drywall and put in fresh stuff at the start of the project. I would have been able to see better what was going on with the electrical and plumbing. I would have had a lot less work to get all the edges smooth. And I wouldn't have had to repair all that drywall at the start of this project. I didn't think ahead enough at the start of the project.
2. I should have taken the header down before tiling. I was having to protect the tile the entire time and it gave me less mobility.
3. I would have used the self-adhesive drywall tape. The plain drywall tape was hard for me to work with on my first project, and I would have done much better with the more expensive stuff.
4. Have I mentioned that everything takes more time than I anticipated? True story.
I hope you enjoyed and learned from my drywall experience. I would say the next post will be about the cabinets, but I don't think it's true. There are a few more steps of prep work before we get there. Plus, I don't expect the cabinets to arrive until early-mid December. Stick with me... we are almost there. :)

.JPG)